

How to Setup Fluid Analysis Notifications
Watch the following the video and/or follow the instructions below.
1. Log in to VisionLink using your Caterpillar CWS username and password.
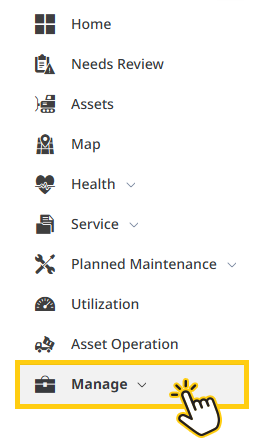
2. From the home screen, select Manage.

3. Select the Notifications tile.

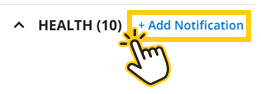
4. Select +Add Notification.
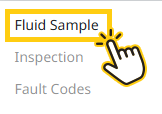
5. Select Fluid Sample.
6. Enter a notification name, then select the notification types you want to receive: Action Required results and/or Monitor results. No Action Required results cannot be sent as notifications. These results can only be scheduled for report delivery. See the instructions below for scheduling reports.


7. Scroll down and add the assets you want to include for fluid analysis notifications. You may add assets by All Assets, Jobsite, Geofence, Group, or Selected Assets. For assets added by jobsite, geofence, or individually, select the blue + icon next to the desired item on the left side of the screen.
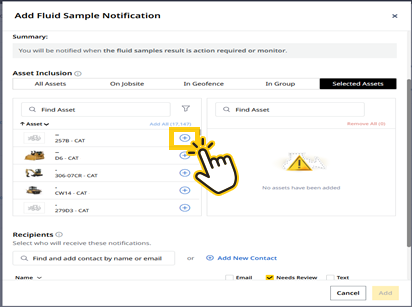
8.1. After selecting your assets, scroll down to the Recipient section.
8.2. Add the desired notification recipients. Use Add New Contact if you need to create a new entry.
8.3. For each recipient, choose the notification method: Email, Needs Review (in VisionLink), or Text Message.
8.4. Ensure a check mark appears next to each selected notification type.
8.5 If selecting Text Message, verify that your phone number is saved in your VisionLink profile under Preferences.

9. Select Add to complete the action.
How to Schedule “No Action Required” Reports
A. Log in to VisionLink using your Caterpillar CWS username and password.
B. From the home screen, select Manage.
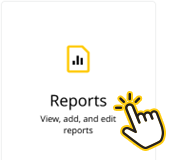
C. Select the Reports tile.
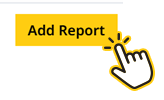
D. Select Add Report, located in the upper right corner of the screen.
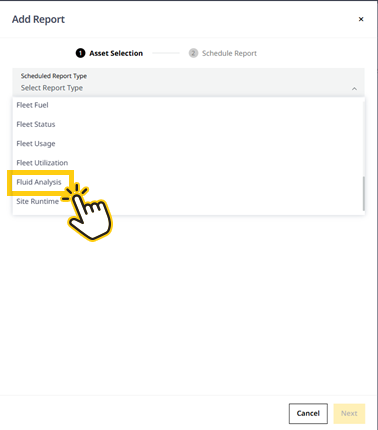
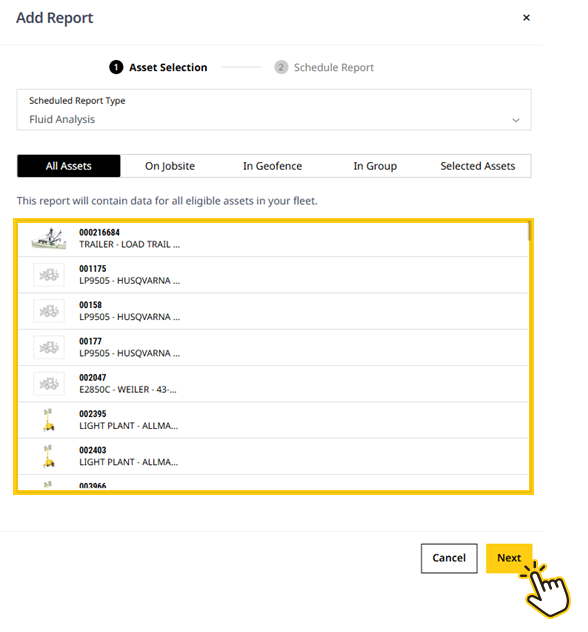
E. A pop‑up window will appear prompting you to select the report type. Open the drop‑down menu for Scheduled Report Type, then scroll down and select Fluid Analysis.
F. Add assets individually (Selected Assets), by Jobsite, Geofence, or Group to include them in the report. After completing your selections, select Next.
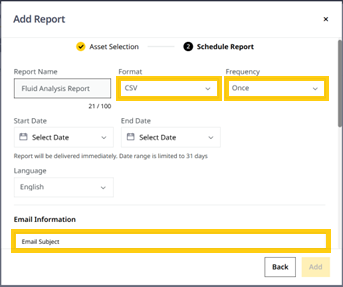
G. Select the report format from the Format drop‑down menu (CSV, XLSX, PDF, JSON, or XML). Then choose the Frequency (Download, Once, Daily, Weekly, or Monthly). Enter a Start Date and End Date, if needed. Confirm your preferred Language. Under Email Information, enter an email subject (for example: Daily Fluid Analysis Report).
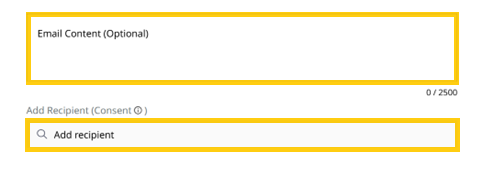
H. Scroll down and add email content, if needed. Then add the recipients for this report. Reports can only be delivered by email, because text messages and Needs Review notifications are not available. Note: the recipient(s) must have VisionLink access to view fluid analysis data included in Reports or Notifications, since all results are viewed within VisionLink.
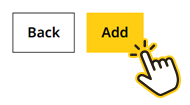
I. Select Add to complete the report setup. Note: One‑time email reports may take a short time to arrive. Tip: If you want the report immediately, choose Download under the format section to generate an instant PDF instead of waiting for an email.
Customers who have questions about sampling are welcome to contact the Fluid Analysis Lab Team.
Email: [email protected]
Phone: (801) 978-1396
For help with configuring alerts or reports in VisionLink™, customers can reach out to the Condition Monitoring Team.
Email: [email protected]
Phone: (801) 978-1602